Now that we’ve talked about what measurement gives us and how to think about units of measure, we’re ready to do some measuring. Quite a bit of this content is related to the ideas of dimension, so it’s a good idea to refresh yourself on that content by re-reading the section or looking back over your notes again before moving forward.
We should start by talking about what we mean by length, area, and volume.
I hope you are seeing a pattern here – so much so that perhaps you could even define an analog of volume in four-dimensional space (but don’t worry, we won’t work with that here). Keep looking for patterns as we start measuring these things. Where can you find similarities between length, area, and volume? Where do you find differences? Keep good notes on your thoughts. Also, pause and notice that the meaning of length, area, or volume doesn’t have anything to do with which unit we use to measure, or with any specific formula. These are general meanings that we will continue to explore for several sections.The process of measurement
We will think about measuring length, area, or volume as a four step process.
- 1.
- Choose an aspect to measure and describe it specifically.
- 2.
- Choose an appropriate unit for measuring and describe it specifically.
- 3.
- Iterate your unit all over the object, leaving no gaps and no overlaps.
- 4.
- Report and interpret your results.
We discussed the first two steps here in the previous section. Remember that describing things specifically is key to making a good measurement, and your descriptions should make it clear what dimension you’re working in. Also remember that an appropriate unit is one that is the same dimension as the aspect you are measuring.
The word “iterate” in step 3 might feel a little strange here, but the goal is to again see that the process of measuring is the same for length, area, or volume. If we are measuring length, we might say “line up the unit end-to-end” instead of saying “iterate”. If we are measuring area, we might say “cover the object with the unit” instead of using “iterate”. And if we are measuring volume, we might say “fill the object with units” instead of talking about iterating. Please use vocabulary that makes sense to you and to the situation!
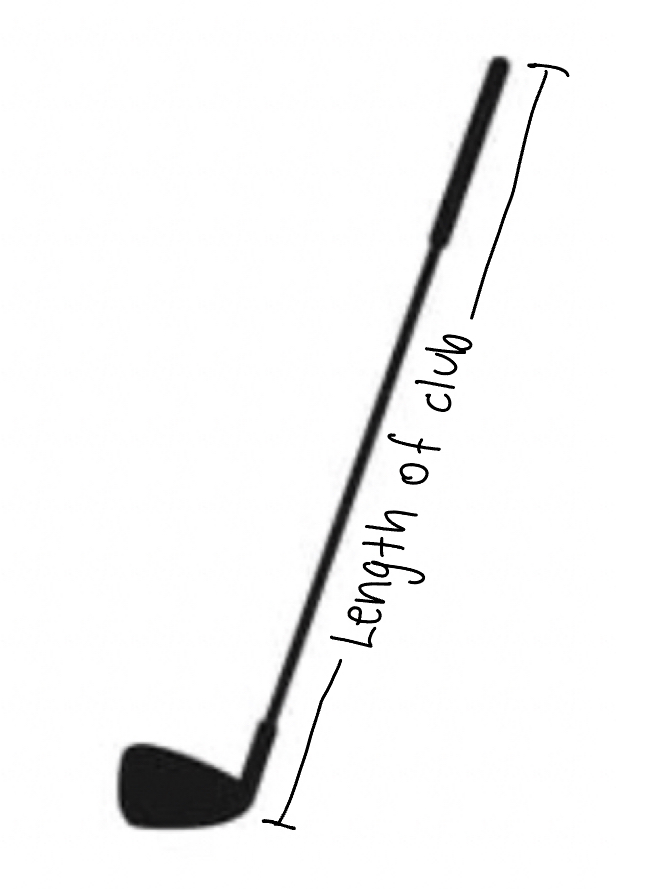
First, we choose an aspect to measure. In this case it’s the length area volume of the golf club. We could also draw a picture of the golf club and indicate on our picture what we mean by the length to make things even more clear.
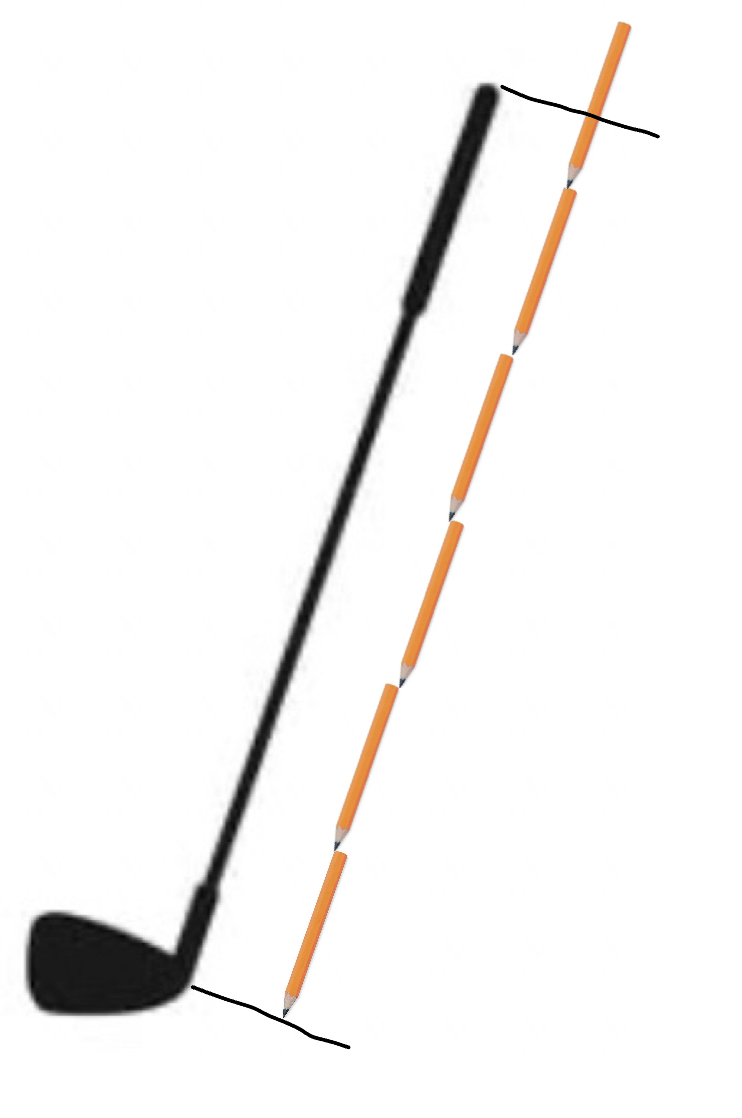
Our third step is to iterate the unit all over the object, leaving no gaps and no overlaps. In this case we want to cover up the entire length of the golf club with pencils. So, we start at one end of the golf club and line up our unit. We then line up the next unit with the end of the first unit, leaving no gaps and no overlaps. We keep using the same unit of measure, so we don’t turn the pencil sideways. We keep repeating this process until we have accounted for the entire length of the golf club. We include a drawing of our process below.
Let’s pause here and return to number lines. Perhaps you can see a nice connection between units of measure, number lines, and rulers. We build number lines by choosing a location for zero and a unit of length, and then we make a bunch of copies of that unit of measure to represent our whole numbers.


However, the number line is actually more powerful than to only be used as a ruler. The number line allows us to connect our ideas about length to our general ideas about numbers. For instance, the idea of the number “two” can refer to two units of length, but it can also refer to two candy bars or two dogs or two friends. All of these ideas about “two” are different, but they all can be represented by counting the number of units we need to move from zero on a number line. From using a number line to understand whole numbers, we can also understand fractions by cutting our units into equal-sized pieces. And from there, we can even define irrational numbers using their locations on the number line! We have a nice way of representing all kinds of numbers that even helps us understand what it means for one number to be larger or smaller than another!
Approximate measurements
Notice that in the previous section, we actually gave an approximate answer to the length example, because we estimated that the last pencil was about of a full pencil’s length. This is because in order to approximate length, area, or volume, we follow essentially the same four-step process for measurement that we do in order to get an exact measurement. The main difference is that when we approximate, it’s okay to have gaps or overlaps, and it’s okay to count too much or too little area. The closer we want our approximation to be, however, the less often we should leave those gaps, overlaps, or extra space.

For our process of measurement, we would like to measure the area inside the shape, and area is the amount of 2D space that the object takes up. Since the object is on top of a grid, we will use the area of one grid square as our unit. The area of the grid square is 1D 2D 3D , and so is the area we are trying to measure, so this unit is appropriate to use.
To estimate the area, the most basic thing we could do would be to count the number of grid squares inside the shape. To find an exact area, we would have to leave no gaps and no overlaps, but to estimate we don’t have to be quite as precise. So, for instance, one strategy we could use would be to count only the squares that are fully inside the shape. I counted squares inside the shape. How many did you count?
We now report and interpret our answer. Since I counted squares inside the shape, I would answer that the shape’s area is approximately squares. If you counted a different number, your answer would be different than mine, and that’s perfectly fine in this case! My answer means that the amount of 2D space inside the shape is approximately the same as copies of the 2D space inside my unit. My estimate here is probably an over estimate (too big) an under estimate (too small) because I didn’t account for all of the space inside the shape.
In the example above, we used the grid squares as our area unit, and grid squares are often convenient units to use. In fact, units that are square are so convenient, we give them a special name.
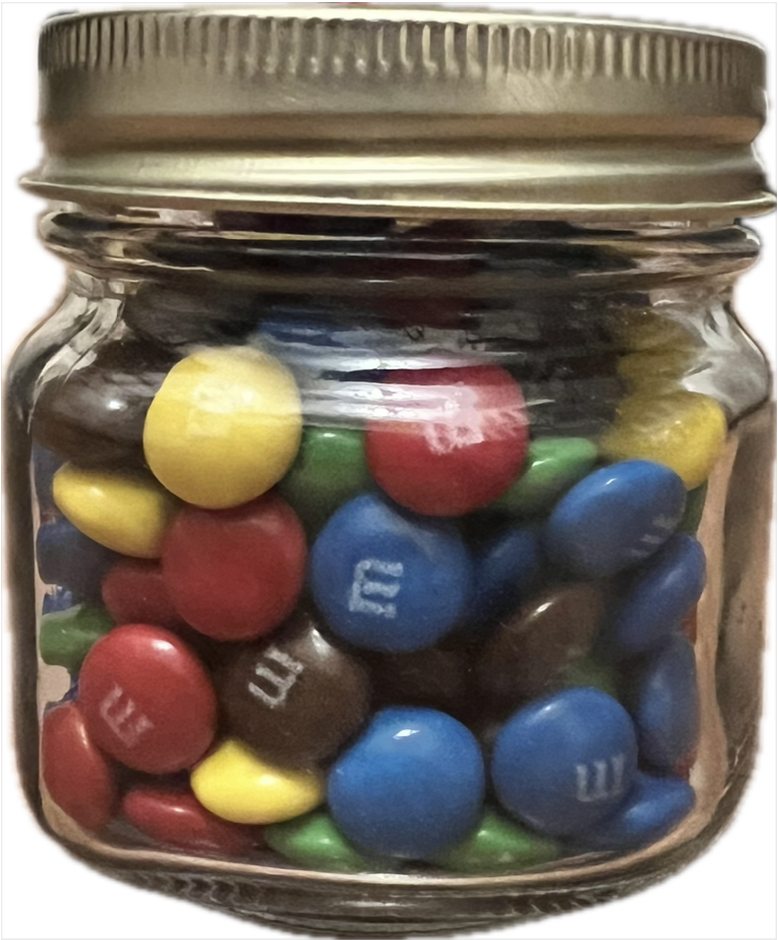
Returning to estimation, notice that we don’t need to use square units to make our estimates. In fact, there’s a game some people play where they try to estimate the number of candies in a jar. Usually the point of this game is that the person whose estimate is closest to the actual number of candies wins the whole jar. This game is really just about estimating the amount of 3D space inside the jar using the candies.
When we think about estimation, we should also consider how much precision we need for the situation at hand. Think about how certain division problems that don’t have exact answers can ask for different types of answers. For instance, if we calculate , sometimes we give an exact answer, sometimes we round up, sometimes we round down, and so on. When we approximate, the problem could ask for an overestimate or an underestimate, or we could be asked to round to the nearest whole number of squares or even the nearest squares. Pay attention to the context of a story problem as much as you pay attention to whether you are overestimating or underestimating. You may also need to pay attention to significant figures when rounding.

Moving and additivity
As we begin to work with measuring, one of the first things we want to kids to recognize and use concerning length, area, and volume is that they are additive. We can write this down formally as follows.
This should almost feel like common sense, but it’s a powerful technique that we want kids to both use and recognize when they are using. So, in our explanations we’d like to point out when we are using this principle.
cubic centimeters of sand

Notice that we can also use the additivity principle “backwards”: if we start with a total amount of length, area, or volume, and then remove some to get back to a part of the total amount, we would typically use subtraction to model what is happening with our length, area, or volume. If you’d like, you can refer to this as a “subtractitivity principle”, but it’s really the same idea as the additivity principle. As usual, the exact terminology matters less than a detailed description of what’s happening and why it’s happening in your explanation!

To get the unknown by itself, we could remove the 2.5 meter piece from the meter piece, and the removing is an action we recognize as meaning we use the addition subtraction multiplication division operation. This means our final answer for the length of the unknown part is meters.
The other principle that helps us to find lengths, areas, and volumes is called the moving principle.


As with the additivity principle, stating the moving principle by name generally isn’t necessary. But your explanations should make it clear what you are doing with the length, area, or volume and why you expect that it didn’t change. It’s very important that you don’t introduce any gaps or overlaps while you move pieces around! Sometimes we will work to show that the pieces fit exactly as they are supposed to, and sometimes it’s okay to just state that the pieces fit exactly. We will practice both types of explanations, and we will be clear which type of explanation we are asking for on any problem you solve.
Shearing
There is a special case of the moving principle that we would like to highlight called shearing. Let’s consider an example before we make our definition.


To summarize, here are the steps for shearing.
- 1.
- Choose a base that will not move when you do the shearing.
- 2.
- Cut the object into small strips parallel to the chosen base.
- 3.
- Shift the strips parallel to the chosen base.
- 4.
- Imagine cutting the strips so thin that the sides smooth out.
The part about cutting the strips so thin that the sides smooth out is perhaps a bit fuzzy, and a mathematician named Bonaventura Cavalieri who lived in the early 1600s would have agreed with you. But he studied this idea and came up with what we now call Cavalieri’s Principle, which says that even when you cut into strips so thin you can’t see them anymore, or even if you could cut into infinitely many strips, you don’t change the area of the shape by this process. Cavalieri proved that this is true, and so we know it’s still true today. In fact, Cavalieri’s Principle was one of the early steps towards calculus!
Finally, notice that we practiced shearing with an area in our example, but you can also use this technique of shearing on a 3D object.
More vocabulary
As we wrap up this section, we want to bring to your attention two pieces of vocabulary that connect lengths, areas, and volumes.
Notice that perimeter is 1D while area is 2D. This is a very important distinction that we talked a little bit about when we first began thinking about dimension. A perimeter is a length, while the shape itself has an area. This is a connection between length and area, but because both measurements can be taken on the same shape, the distinction between perimeter and area can be tough for some people.
We will work with these ideas more as we move forward, but never hesitate to start a conversation if you are confused!
2025-09-28 03:19:122026-07-22 02:12:282026-07-22 20:17:17