Deploying Ximera documents.
We have several options for deploying Ximera documents: Deploying through a
GitHub codespace, deploying from your machine, and deploying though a GitHub
action. We will discuss the first option here and suggest the interested user reach out
to Ximera developers for help with other deploy methods. With all options you will
need a GPG_KEY_ID and a GPG_KEY (discussed below). These will identify your
“xourse name” as one that you own.
1 Obtaining GPG Keys
If you are deploying legacy Ximera material, you may need to contact Ximera developers to obtain a proper key. If you are deploying new Ximera content, you can get your own GPG key by pressing “SERVE” in a fresh codespace. If you do this, and you want to “officially” deploy, you should tell us your name and email address:
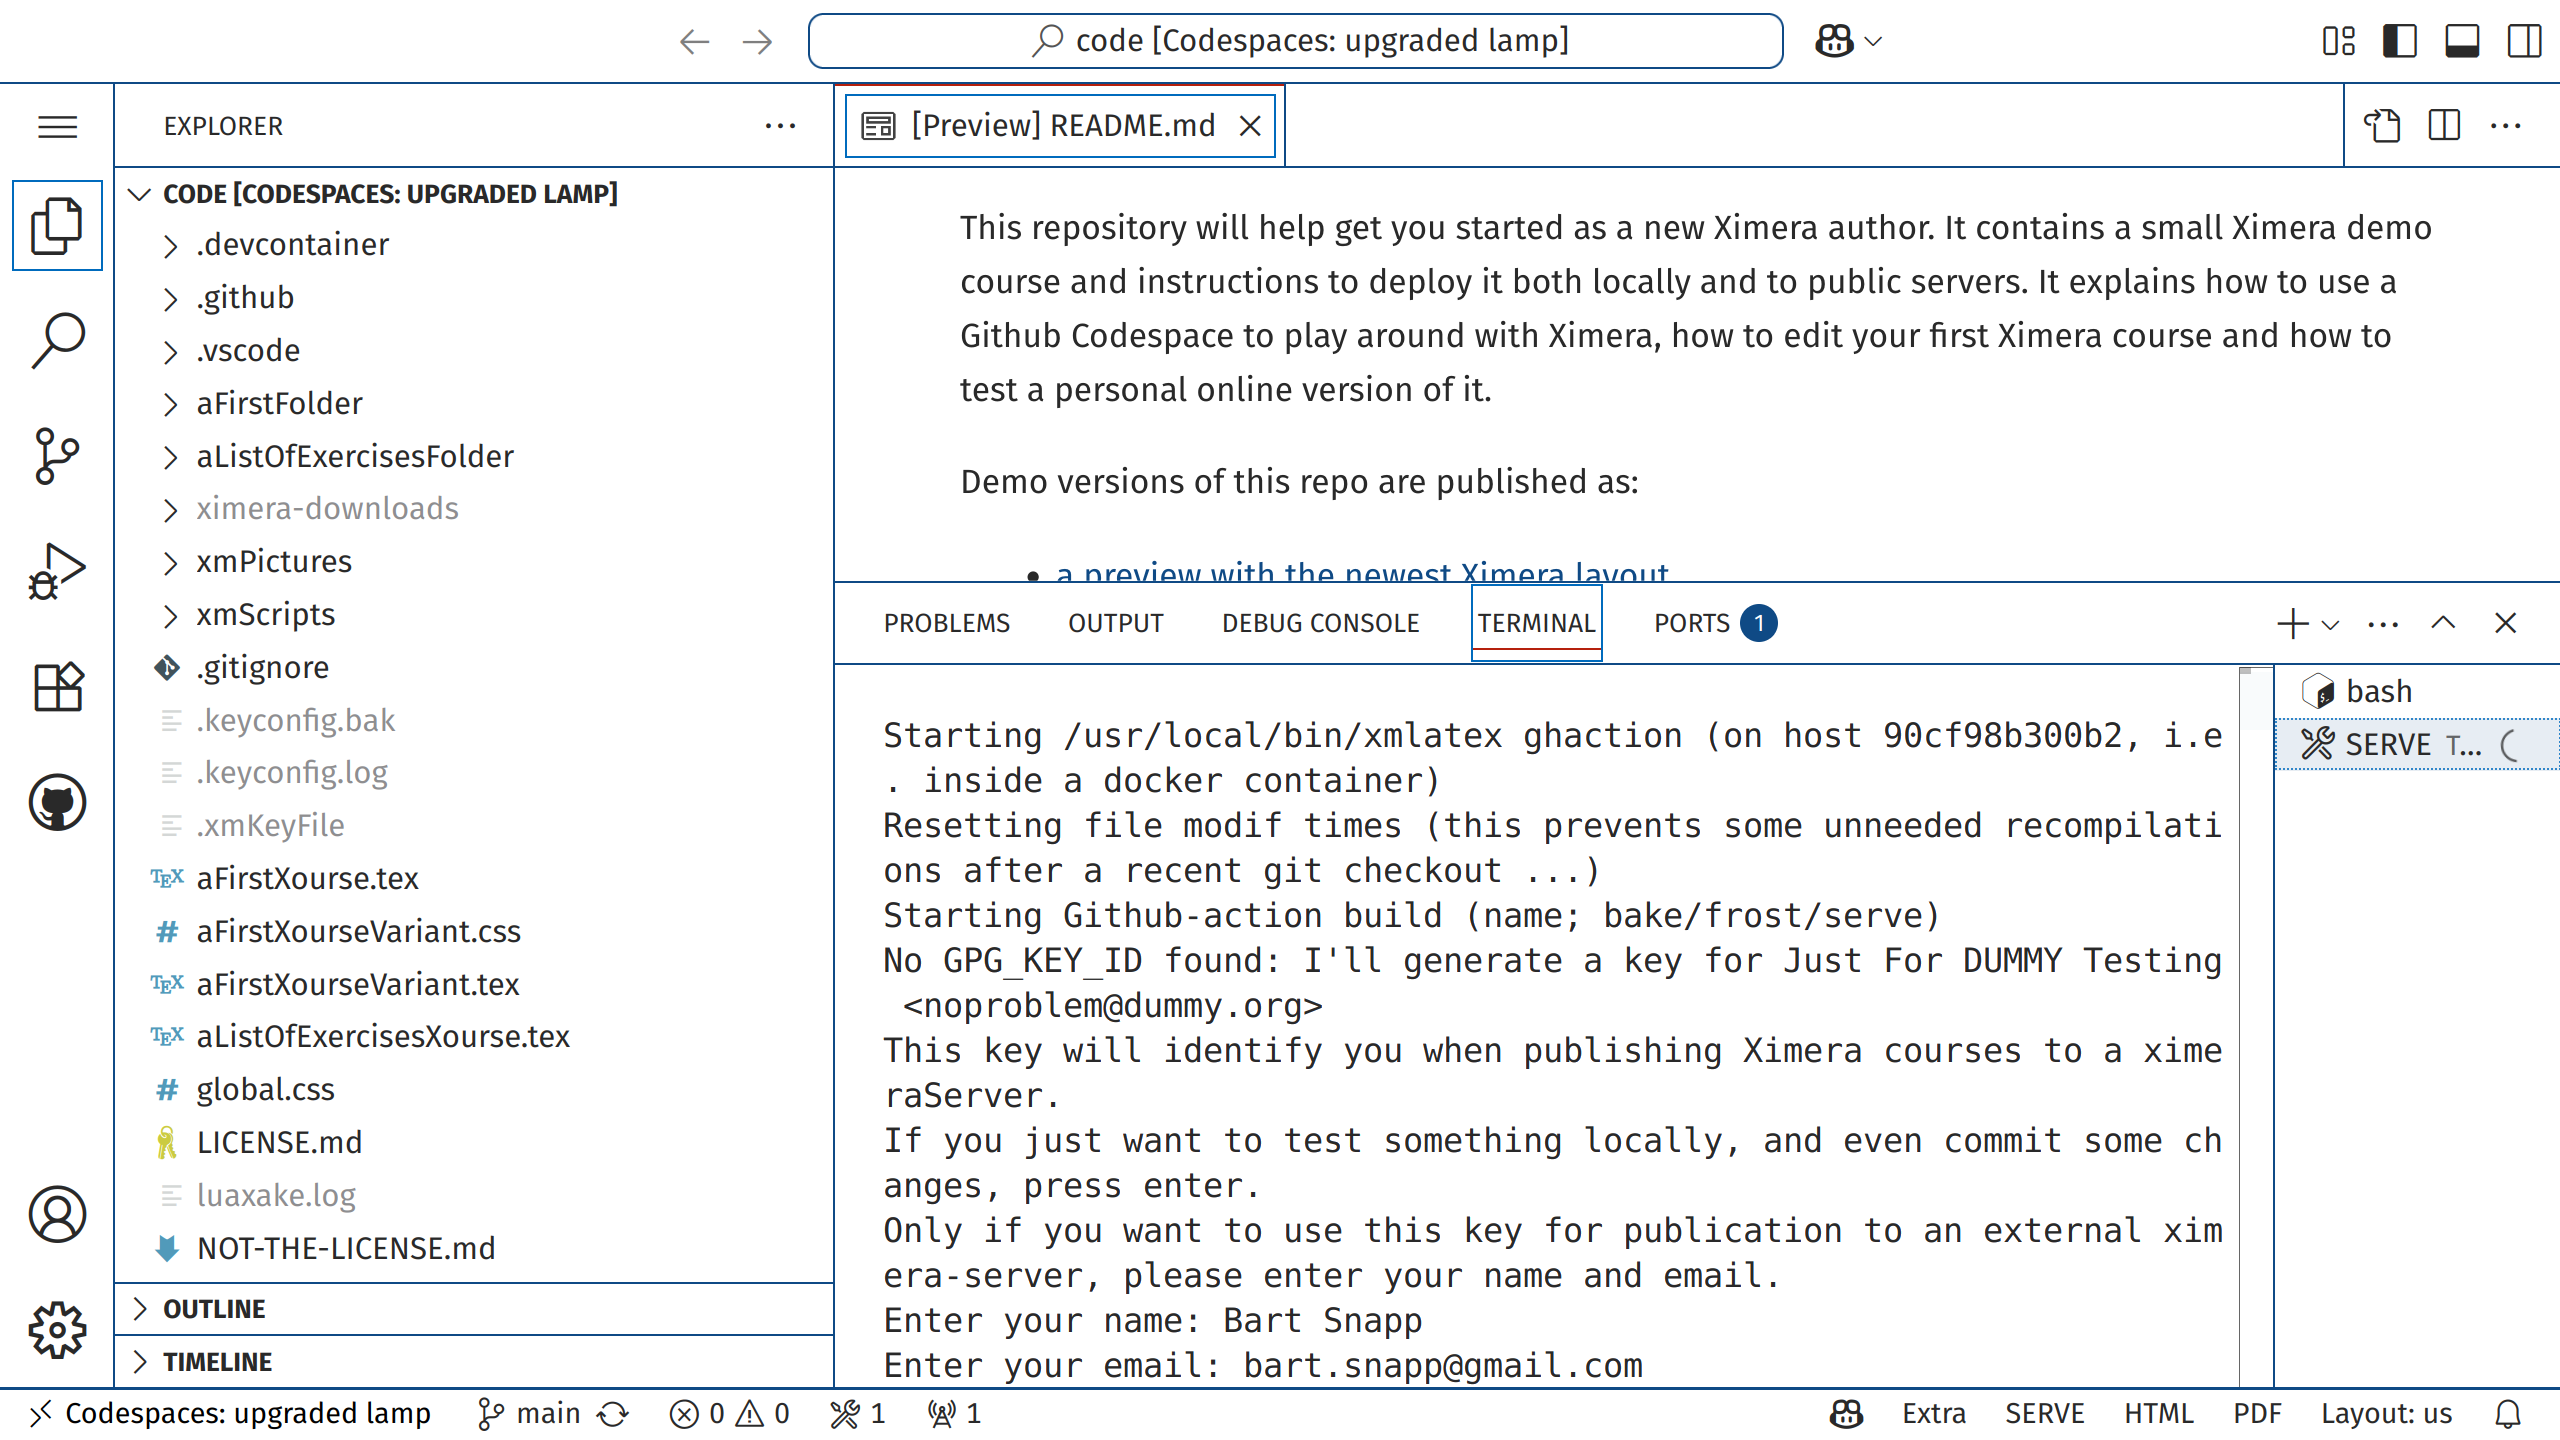
Open the file (using ‘hamburger’ \(\to \) File \(\to \) open-file) .xmKeyFile. It should look
something like this:
# This file contains a private GPG key for
# Bart Snapp <bart.snapp@gmail.com>
# to publish Ximera courses.
#
# These settings will be overwritten by existing
# GitHub environment variables
#
# GPG_KEY_ID and GPG_KEY
#
#   *** DO NOT COMMIT THIS FILE ***
#
GPG_KEY_ID=215FC33FAB44D5CCA31A04B2CC78CB561FDC49A8
GPG_KEY="\
LS0tLS1CRUdJTiBQR1AgUFJJVkFURSBLRVkgQkxPQ0stLS0tLQoKbEZnRVp2QUFBaFlKS3dZQkJB
SGFSdzhCQVFkQUI4UW9zbWR3YmJBcHJHQ1k1N3Q1VmRVVkJGTlpWWEFQTGVkWQpMWnZtQ0tjQUFR
QzF4dmlVckwzRWE2bmpJcUZ1WitWL2EzUG55TCtPeDMvTHg3eWxtV2pNNlJUeHRDTkVkVzF0CmVT
QkdiM0lnV0dsdFpYSmhJRHh1YjI1bFFHVjRZVzF3YkdVdVkyOXRQb2laQkJNV0NnQkJGaUVFSVYv
RFA2dEUKMWN5akdnU3l6SGpMVmgvY1NhZ0ZBbWJ3QUFJQ0d3TUZDUVdqbW9BRkN3a0lCd0lDSWdJ
R0ZRb0pDQXNDQkJZQwpBd0VDSGdjQ0Y0QUFDZ2tRekhqTFZoL2NTYWpjaGdFQWhHZkVkYW9xRnZD
c21NZExZVmNNSUhkTjl4aXJzZTB1Cjh5WVYweXpGVS9zQSt3Vm9zR3UvYk10b3N2bHphMkRJUkQ3
VG9BUE5HeDYwanBlYjJaRm5DQW9LbkYwRVp2QUEKQWhJS0t3WUJCQUdYVlFFRkFRRUhRTitNMW52
VG44Um85SFordW50NGJFN1A1dEZ5QnJkbnBmS2pvZ1oyd2R3bApBd0VJQndBQS8xMUhNaFJuTnFL
RXpBVC9tN1Y1Mm90NjNjRzNRbFp1R0FFV0tqSmJOZUFJRG9HSWZnUVlGZ29BCkpoWWhCQ0Zmd3or
clJOWE1veG9Fc3N4NHkxWWYzRW1vQlFKbThBQUNBaHNNQlFrRm81cUFBQW9KRU14NHkxWWYKM0Vt
b2RpTUEvMVBMZFpzc2owdm10VGw1ZEFMUGNMdUpDandNZlgyQWFCS3J1WG0vZjc4UEFQOWM2eHdh
YXdSVQpFTks0VCttYU5IbGt6TXVLWjJEYkNwS1Irdk5rdHlWL0FRPT0KPWk3Wk8KLS0tLS1FTkQg
UEdQIFBSSVZBVEUgS0VZIEJMT0NLLS0tLS0K
"
In this case, the GPG_KEY_ID is:
215FC33FAB44D5CCA31A04B2CC78CB561FDC49A8
and the GPG_KEY is:
LS0tLS1CRUdJTiBQR1AgUFJJVkFURSBLRVkgQkxPQ0stLS0tLQoKbEZnRVp2QUFBaFlKS3dZQkJB
SGFSdzhCQVFkQUI4UW9zbWR3YmJBcHJHQ1k1N3Q1VmRVVkJGTlpWWEFQTGVkWQpMWnZtQ0tjQUFR
QzF4dmlVckwzRWE2bmpJcUZ1WitWL2EzUG55TCtPeDMvTHg3eWxtV2pNNlJUeHRDTkVkVzF0CmVT
QkdiM0lnV0dsdFpYSmhJRHh1YjI1bFFHVjRZVzF3YkdVdVkyOXRQb2laQkJNV0NnQkJGaUVFSVYv
RFA2dEUKMWN5akdnU3l6SGpMVmgvY1NhZ0ZBbWJ3QUFJQ0d3TUZDUVdqbW9BRkN3a0lCd0lDSWdJ
R0ZRb0pDQXNDQkJZQwpBd0VDSGdjQ0Y0QUFDZ2tRekhqTFZoL2NTYWpjaGdFQWhHZkVkYW9xRnZD
c21NZExZVmNNSUhkTjl4aXJzZTB1Cjh5WVYweXpGVS9zQSt3Vm9zR3UvYk10b3N2bHphMkRJUkQ3
VG9BUE5HeDYwanBlYjJaRm5DQW9LbkYwRVp2QUEKQWhJS0t3WUJCQUdYVlFFRkFRRUhRTitNMW52
VG44Um85SFordW50NGJFN1A1dEZ5QnJkbnBmS2pvZ1oyd2R3bApBd0VJQndBQS8xMUhNaFJuTnFL
RXpBVC9tN1Y1Mm90NjNjRzNRbFp1R0FFV0tqSmJOZUFJRG9HSWZnUVlGZ29BCkpoWWhCQ0Zmd3or
clJOWE1veG9Fc3N4NHkxWWYzRW1vQlFKbThBQUNBaHNNQlFrRm81cUFBQW9KRU14NHkxWWYKM0Vt
b2RpTUEvMVBMZFpzc2owdm10VGw1ZEFMUGNMdUpDandNZlgyQWFCS3J1WG0vZjc4UEFQOWM2eHdh
YXdSVQpFTks0VCttYU5IbGt6TXVLWjJEYkNwS1Irdk5rdHlWL0FRPT0KPWk3Wk8KLS0tLS1FTkQg
UEdQIFBSSVZBVEUgS0VZIEJMT0NLLS0tLS0K
Copy and paste the contents of .xmKeyFile to a file on your computer for
safe-keeping, but do not commit it to the repository. If you do, and
you use the key to deploy, others will be able to overwrite your interactive
content.
2 GPG keys and codespace
Once you have your GPG_KEY_ID and GPG_KEY, you are ready to go. Assuming your
repository contains the folder .devcontainer from either ximeraFirstSteps or
ximeraNewProject, you can start a codespace from GitHub in your web browser and
deploy to a public-visible Ximera server such as: https://ximera.osu.edu. To do
this you will need to do some additional set up. You’ll need to add two new secrets
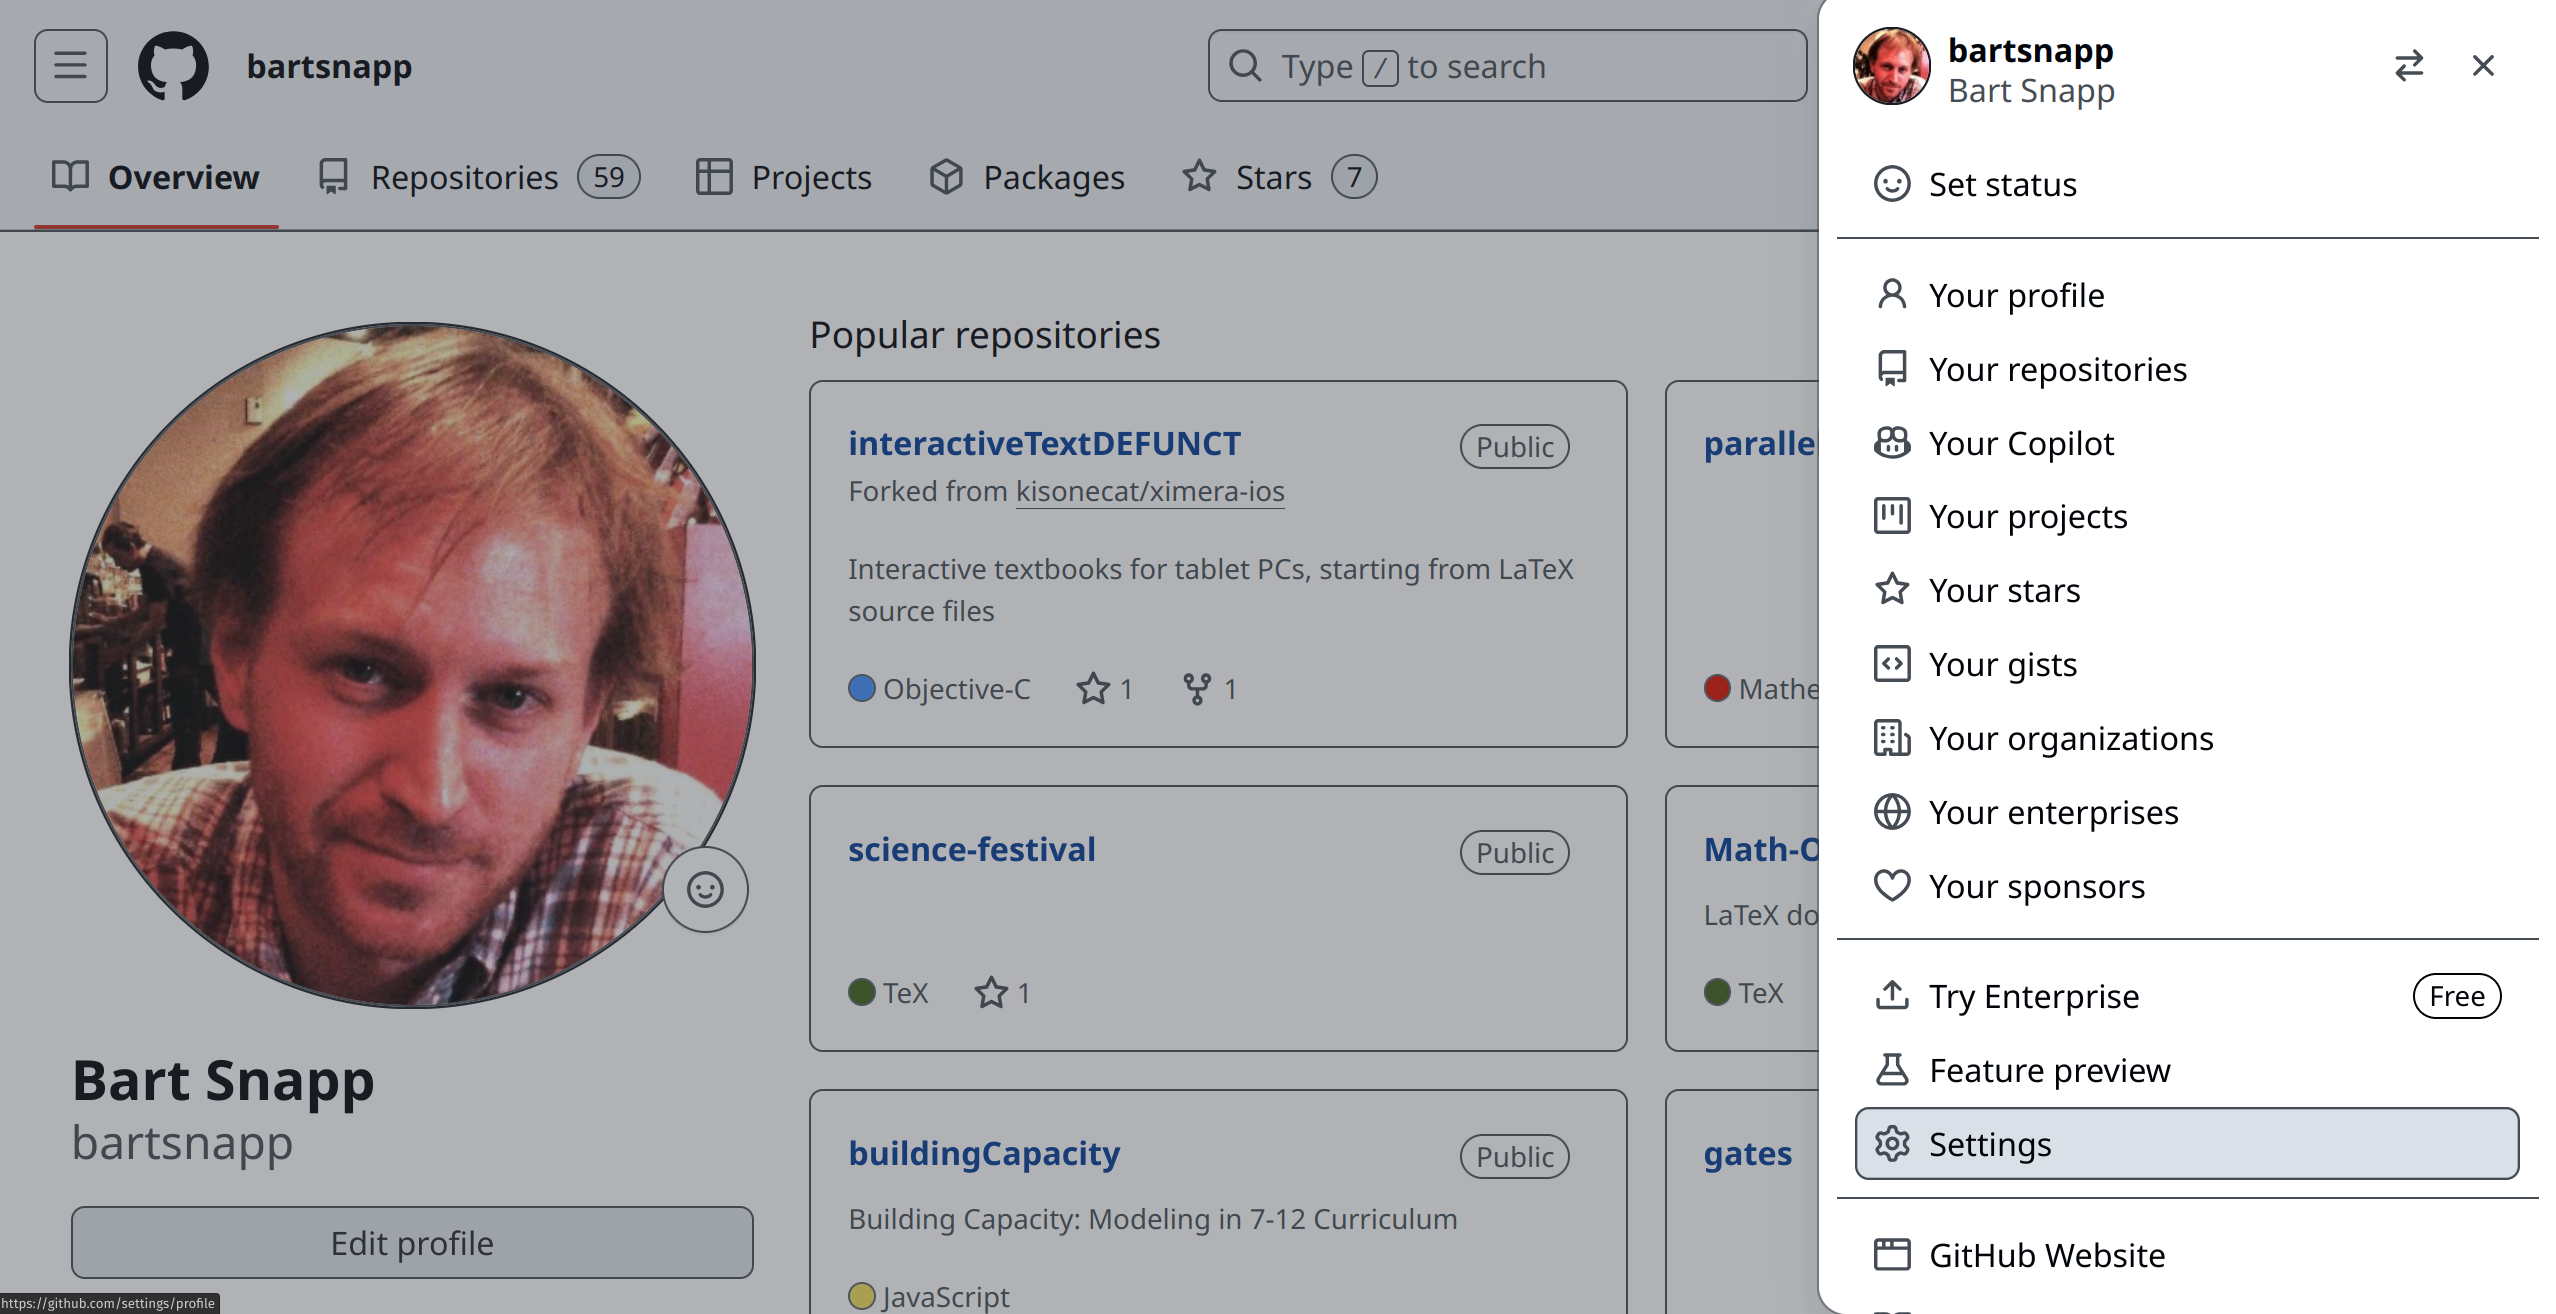
to codespace. Go to your GitHub page, and select “Settings” from the menu at the
top right.
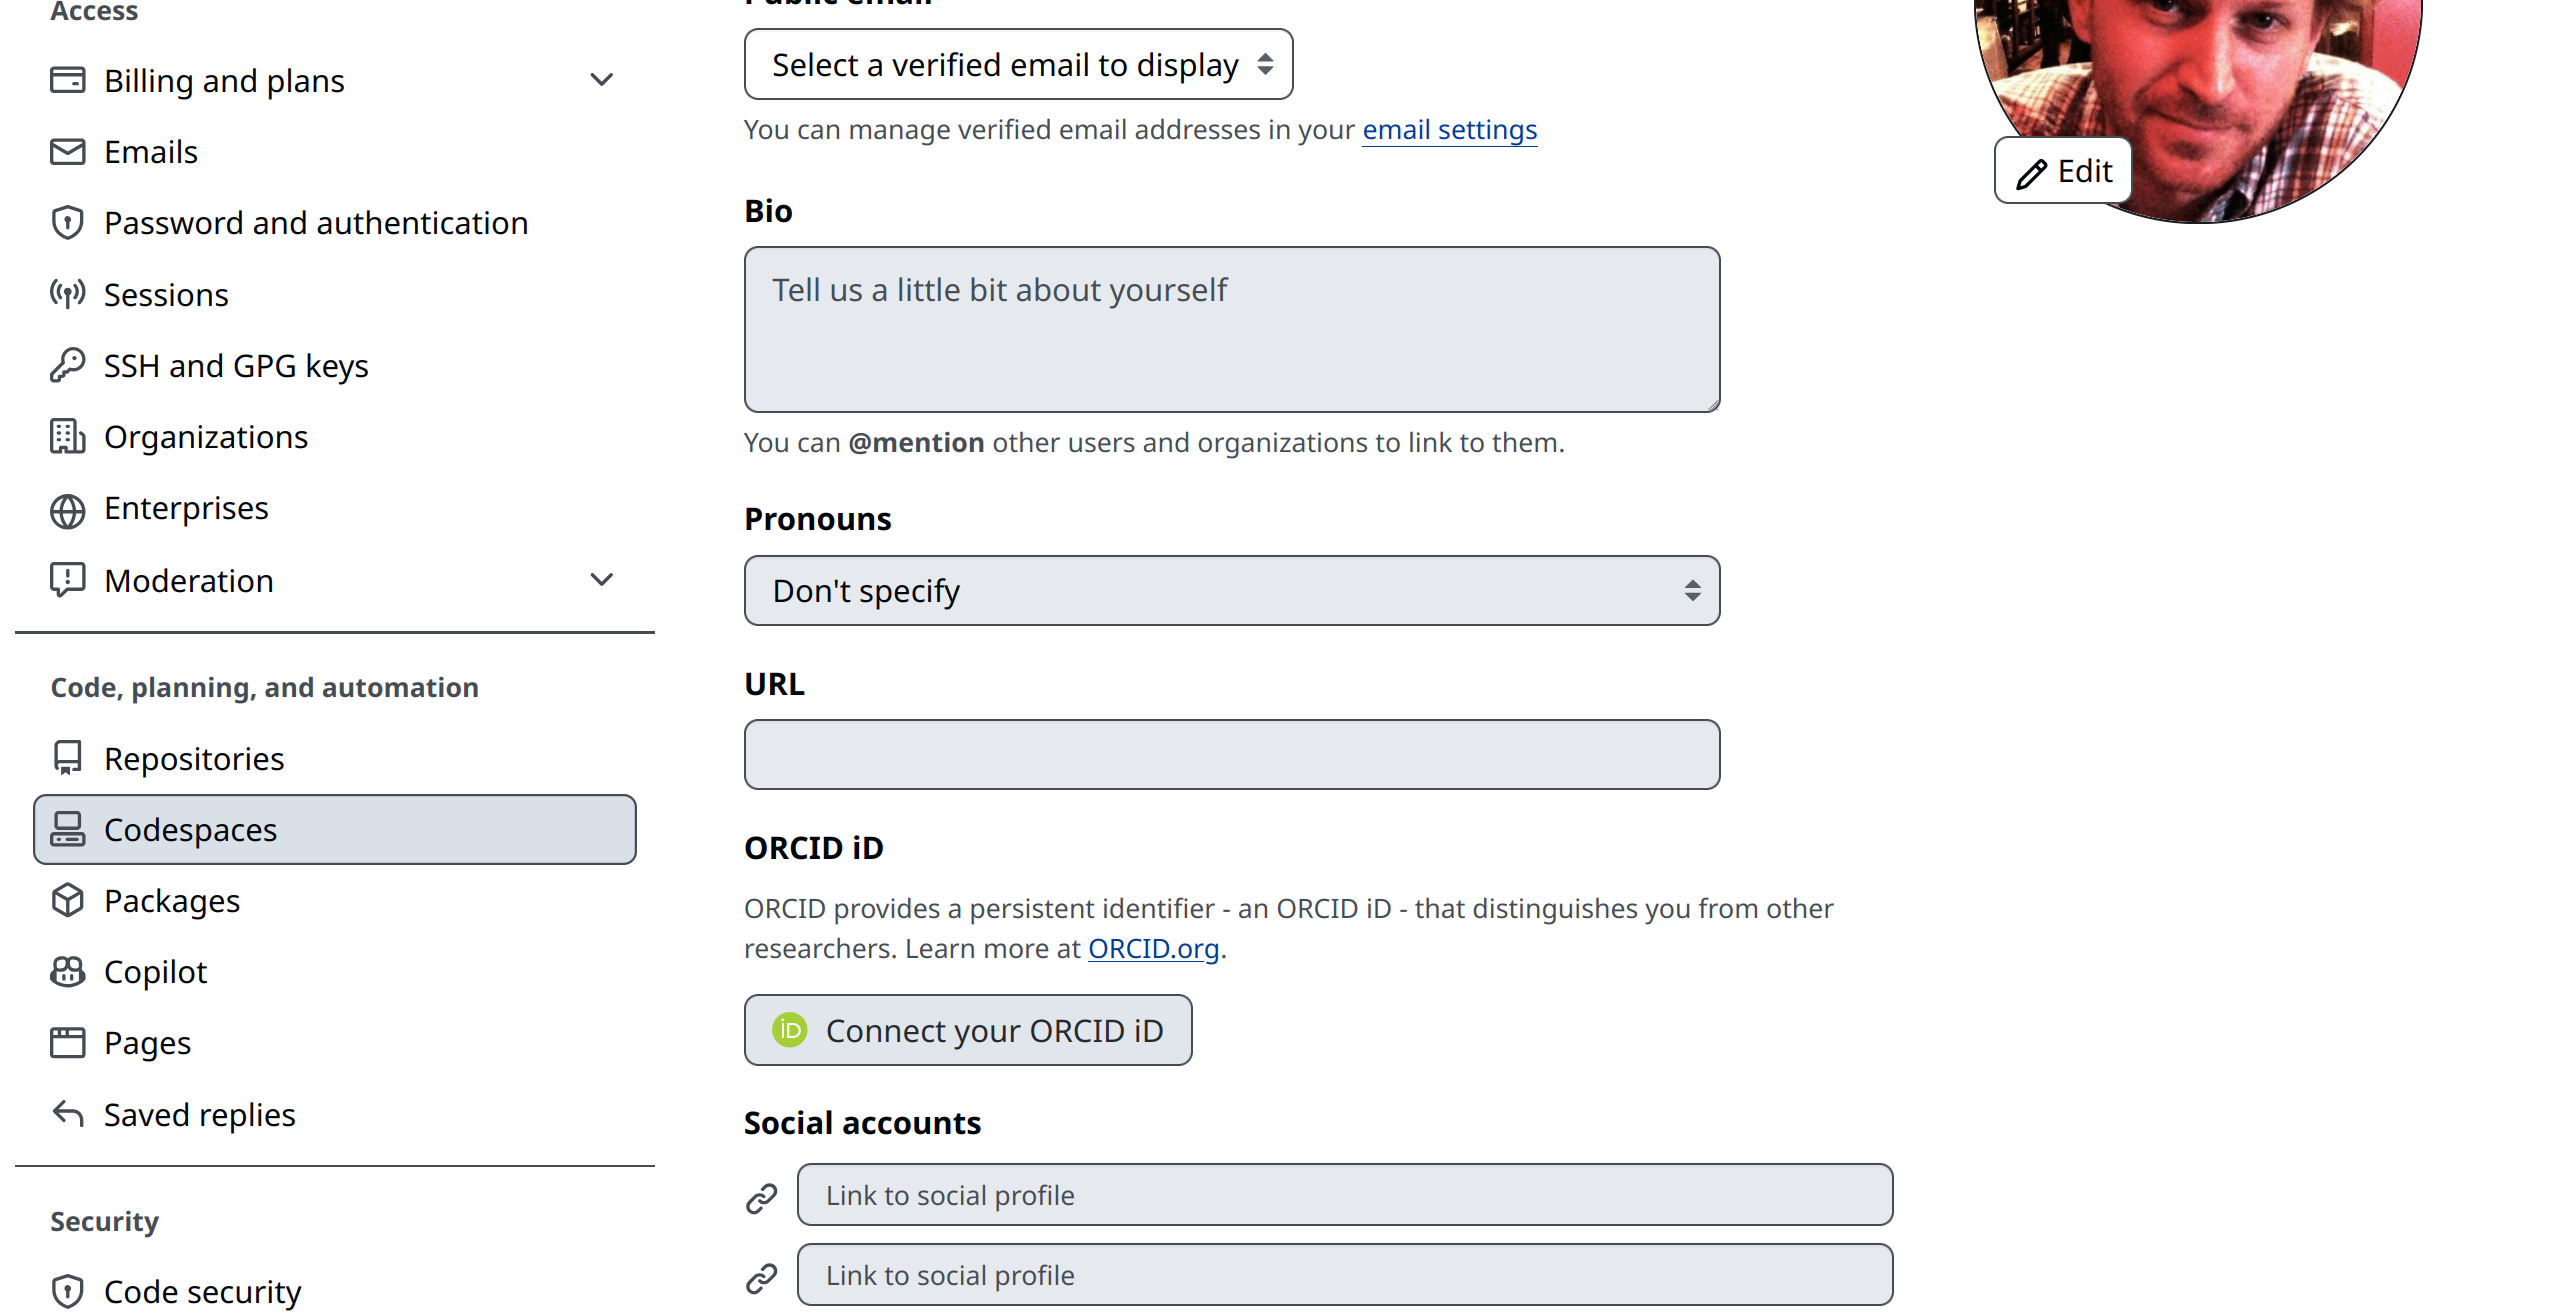
Now look to the left, and scroll down until you see a “Codespaces” option. We see it above.
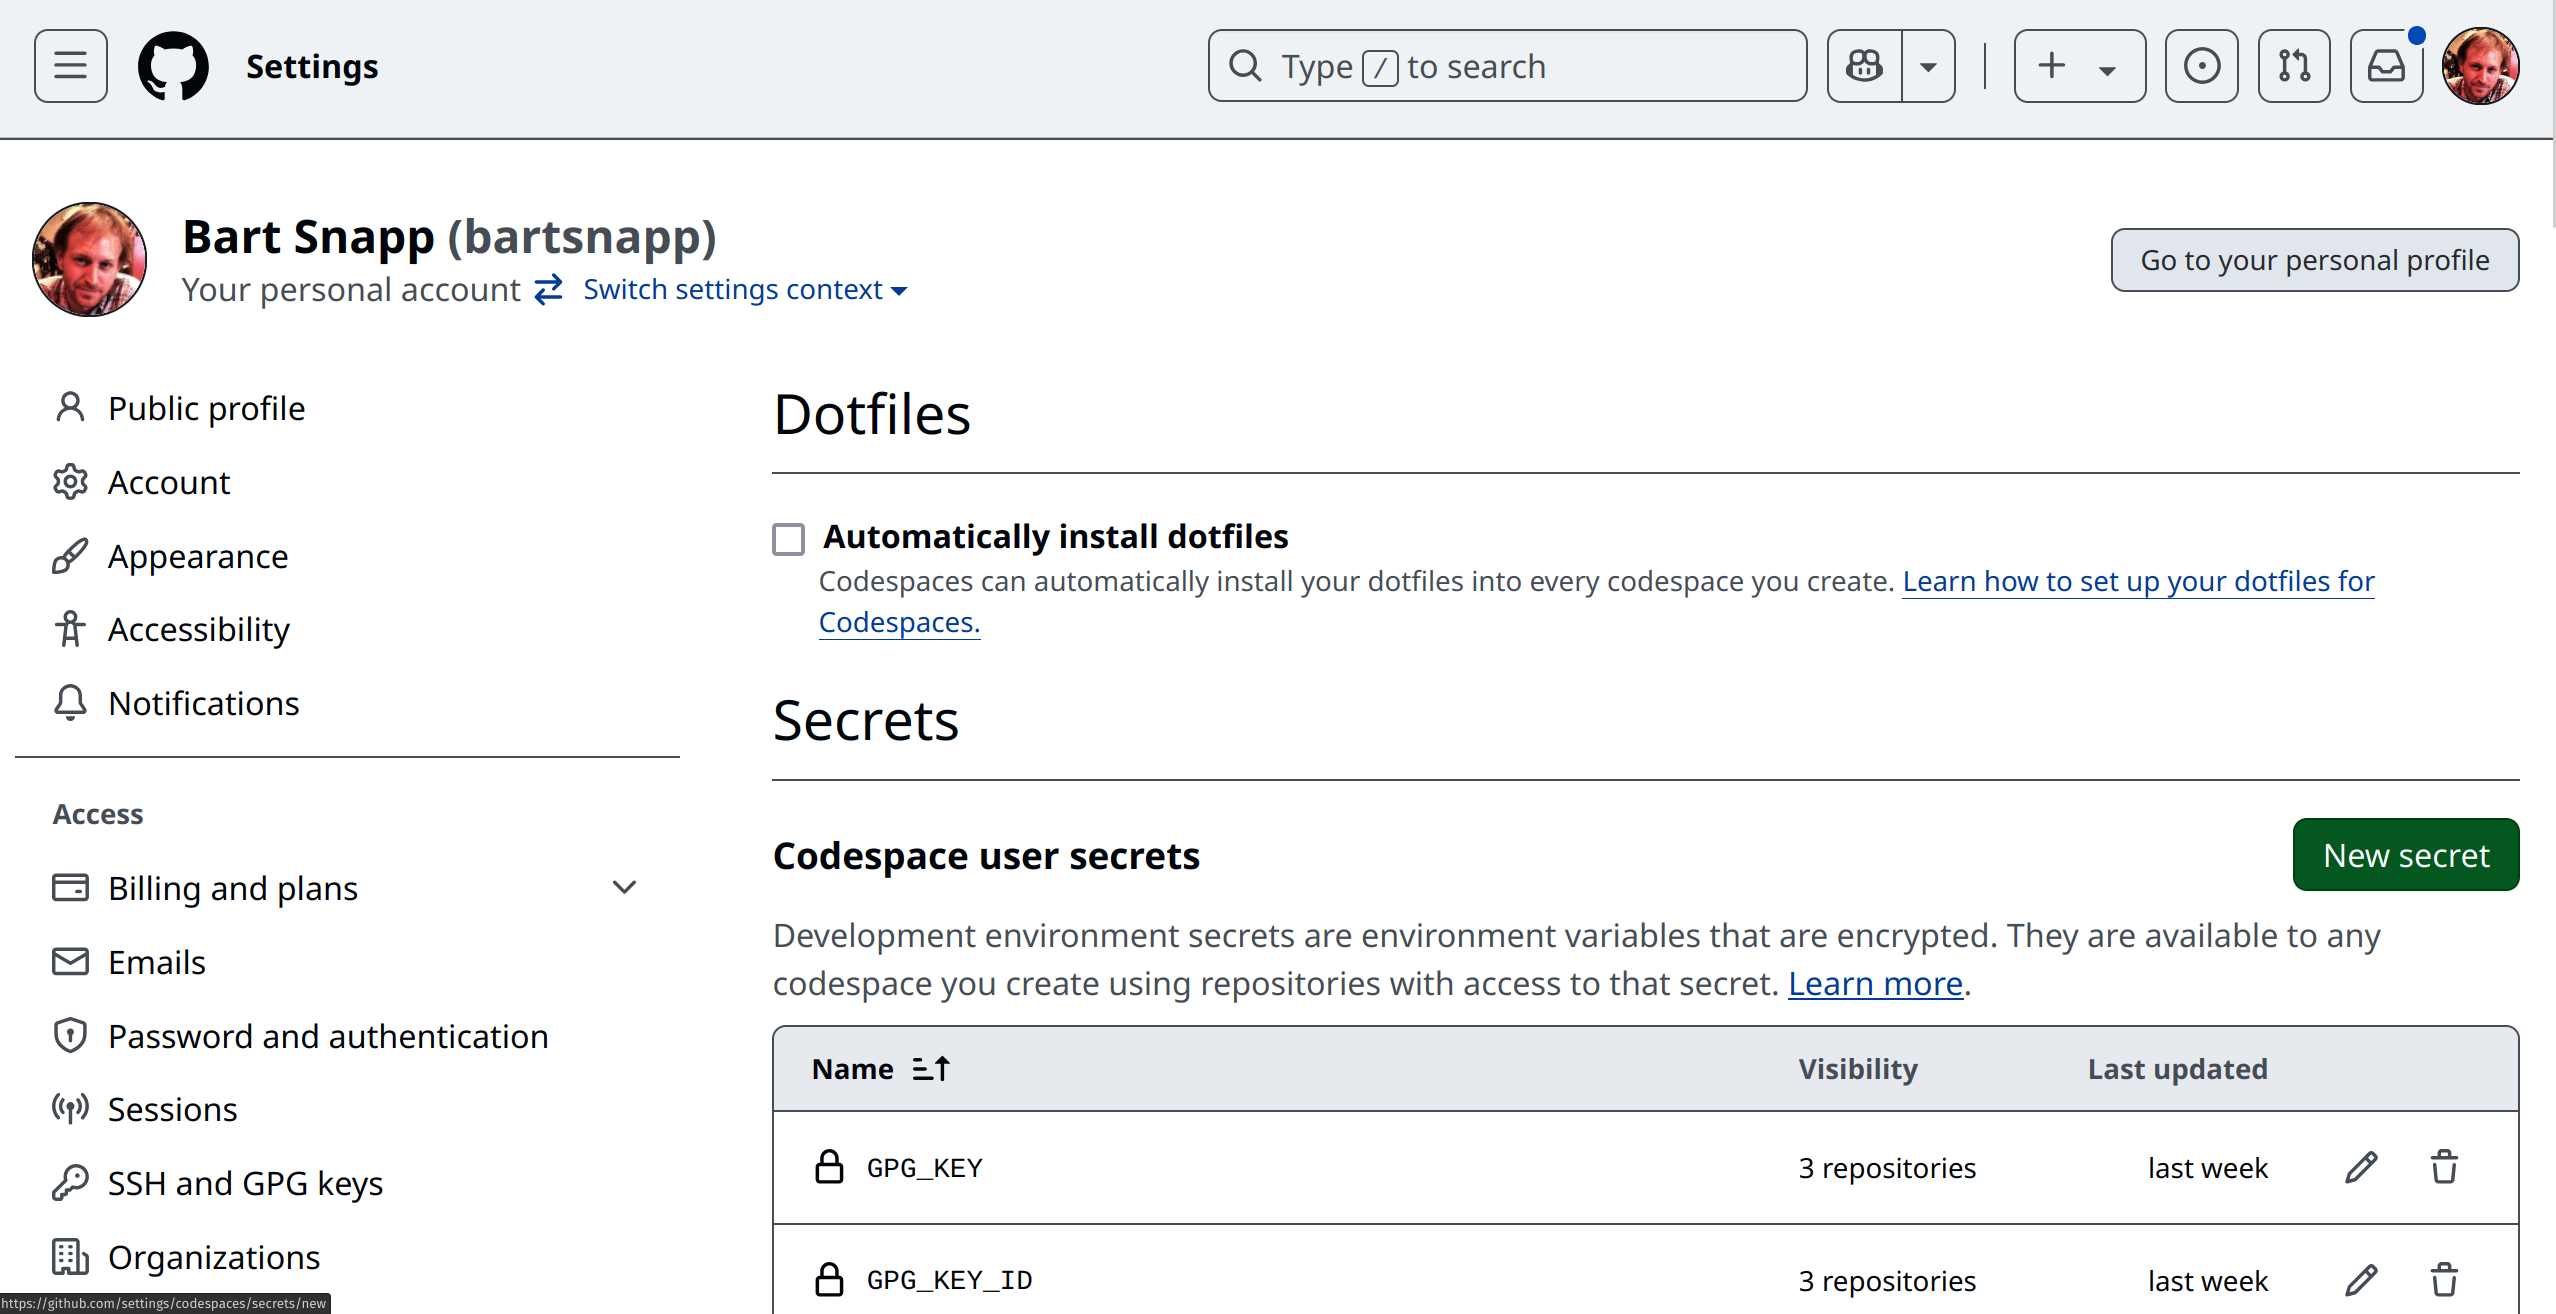
Now click on “New secret.”
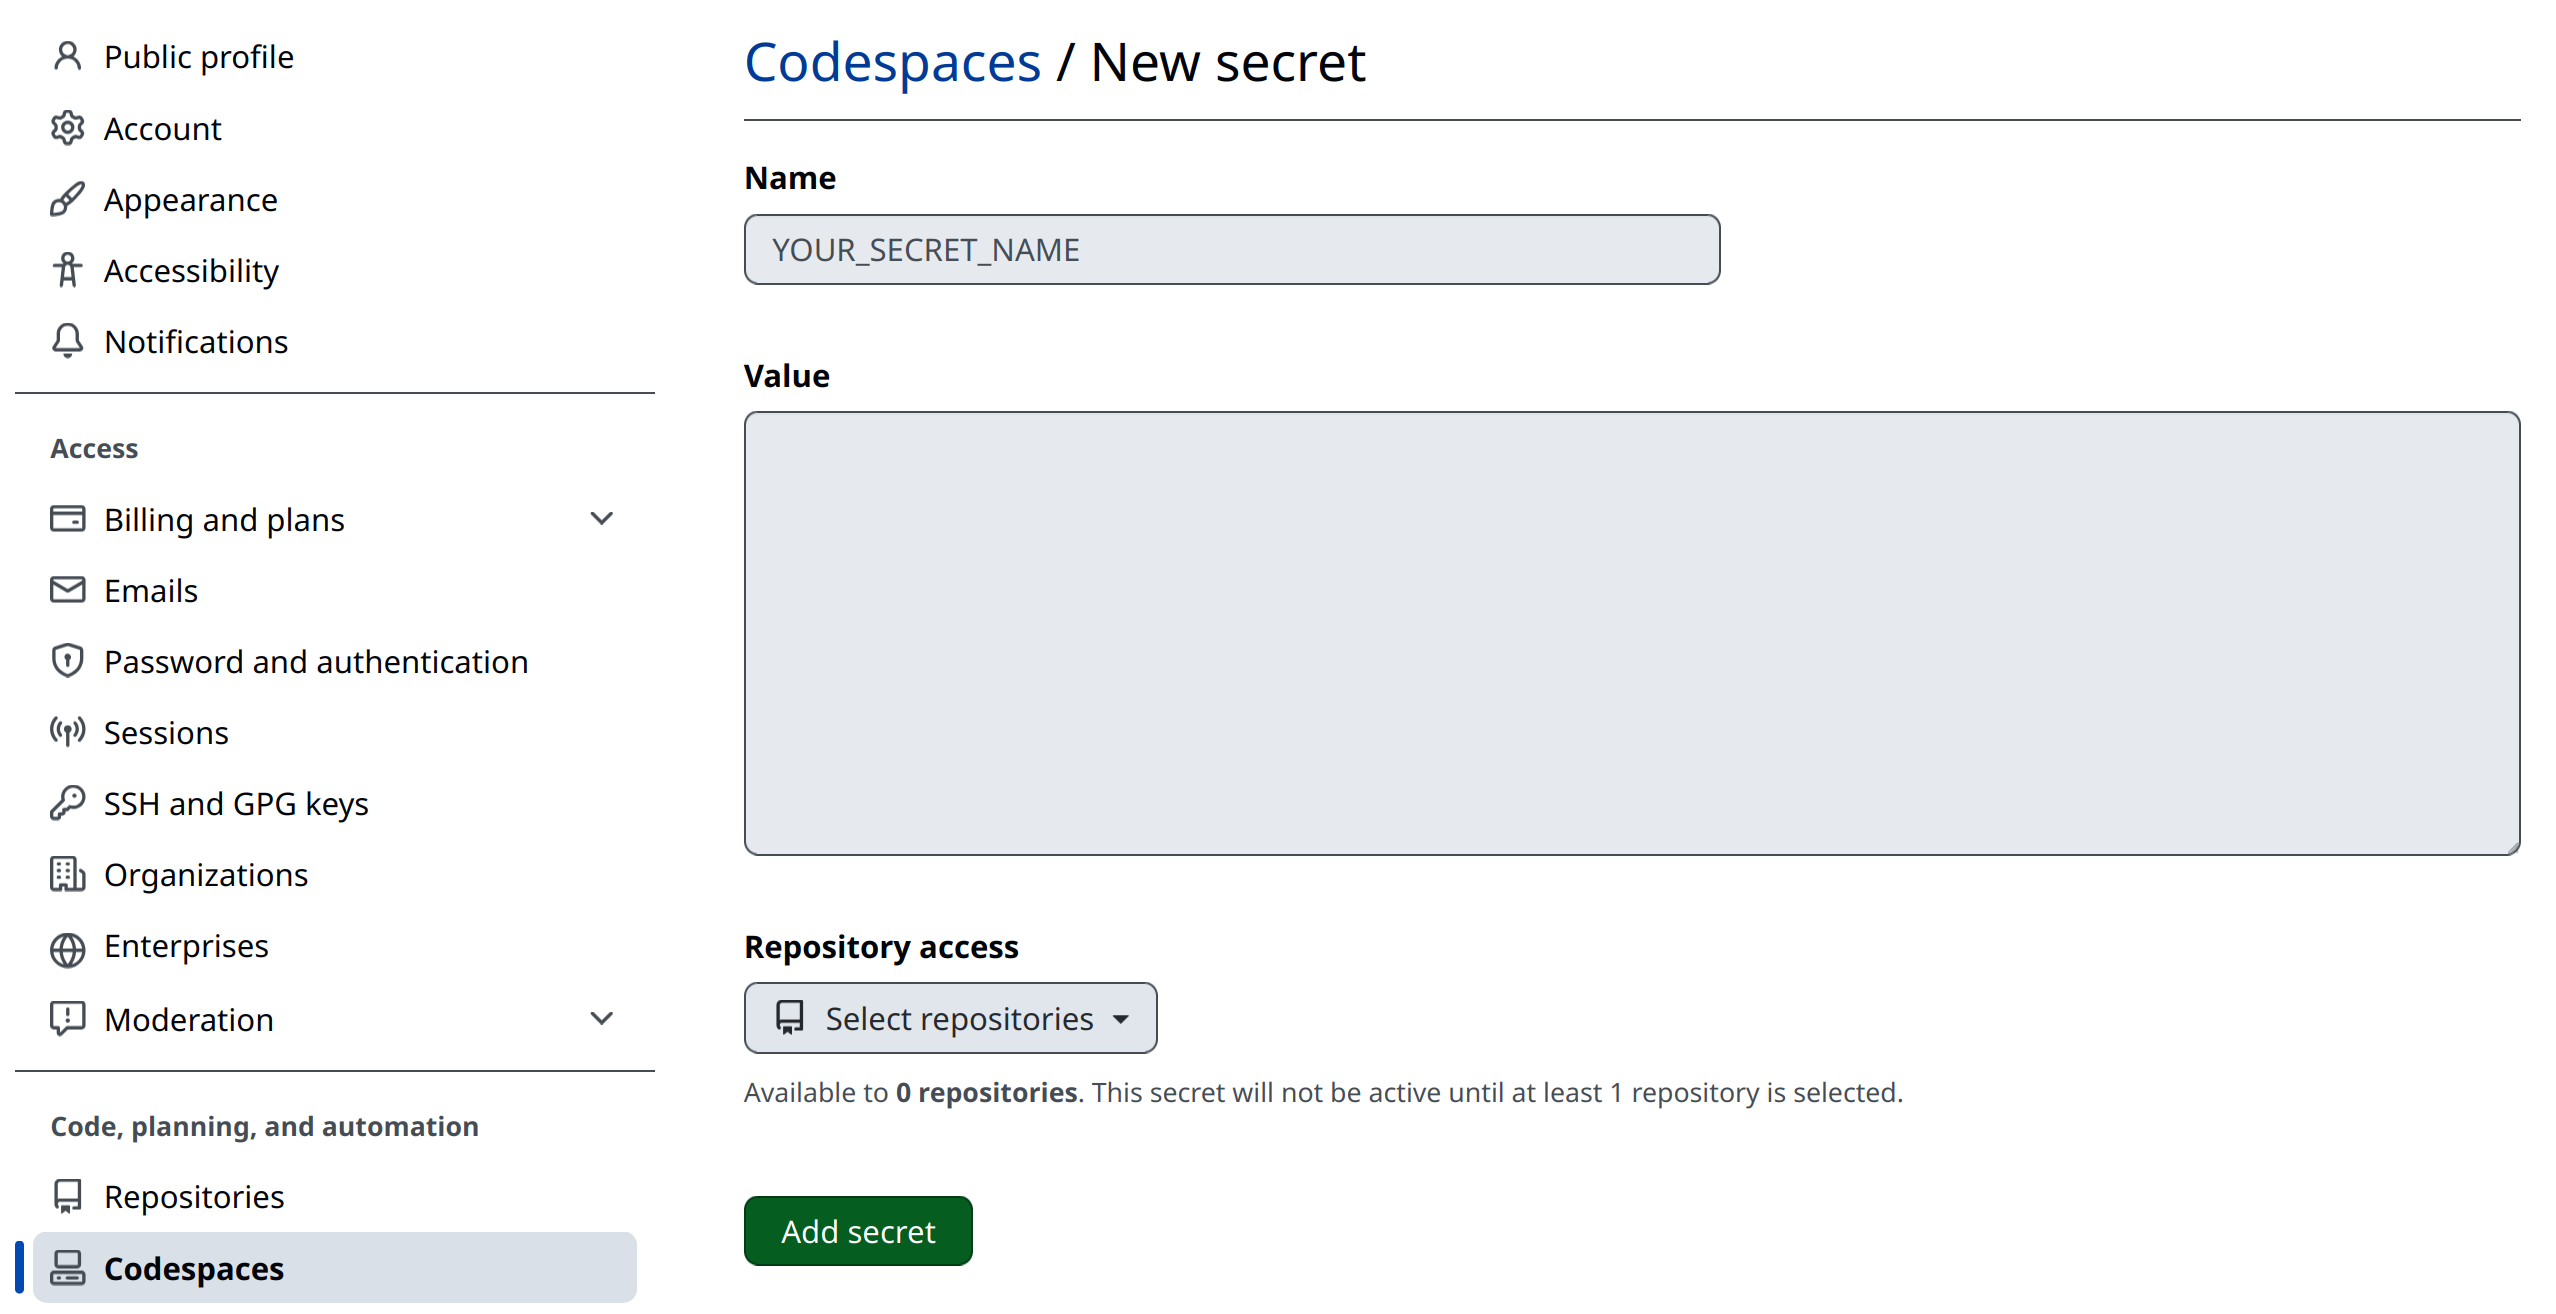
Finally, set the name (YOUR_SECRET_NAME) of your secrets as:
-
GPG_KEY_ID -
with the “Value” being the single line of characters we found before.
-
GPG_KEY -
with the “Value” being the large block of characters we found before.
You will also need to select the “Repository Access” drop-down menu, and give the appropriate repositories access to these keys.
3 GPG keys on your machine
This section is for experience GitHub users. To deploy from your machine, you need a file in the folder of the repository of your content that is not committed to the repository. Please reach out to Ximera developers for help with this step. You will also need to modify configuration files.
4 Setting the remote Ximera server
Currently, this is subject to change, you need to modify:
xmScripts/config.txt
Around line 20, you will find something like:
## : "${XIMERA_NAME:=myreponame}"
## : "${XIMERA_URL:=http://localhost:2000/}"
## : "${XIMERA_URL:=https://ximera.osu.edu}"
## : "${XIMERA_URL:=https://set-p-dsb-zomercursus-latest.cloud-ext.icts.kuleuven.be/}"
## : "${XIMERA_URL:=https://set.kuleuven.be/voorkennis/}"
Remove the ## from the first line, uncommenting it, and set myreponame to be what
you want your content to be called online.
Next uncomment, remove the ##, from the line of the server you wish to deploy
to. Save the file. It would probably be best to not commit it to the repository, though
it really doesn’t matter. Now, when you press “SERVE,” your Ximera content will be
deployed online! Please feel free to reach out to the Ximera developers for help at this
step.